7 Essential Techniques for Working with Air Drying Clay
Air drying clay allows creativity to prevail and create beautiful and functional artifacts without a kiln. From creating fine art figures and functional tools to exploring completely new shapes. This medium provides enhanced accessibility for artists of all skill levels to create their art.
While working with clay, air drying clay stands out due to its mere reduction of the drying process. As compared to other clay types that must go through a kiln to be dry. To help you make the most of your artistic journey, here are seven essential techniques and tips for working with air drying clay.
Basic hand building techniques, introducing complex surface textures, and applying the final touches all present different perspectives in sculpting, handling, and decorating air-dry clay.
1. Preparing Your Workspace
If you are intending to undertake a air drying clay project. It is important to ensure that your working environment is clean. Remove any debris and dirt from the table and cover it with a flat surface including a drawing board or plastic to prevent the clay from sticking.
It is advisable to have a bowl of water close by as it helps in wetting the clay as well as keeping hands moist for better handling of clay. This setting enables you to work much more effectively enabling you to add the detailing and sculpting effects as required.
Therefore, it will be easier to start your work with a clean table. As this way you create a positive atmosphere during clay crafting.
2. Understanding Clay Consistency
There are many types and textures of air drying clay including fine, coarse and the paper clay type. Selecting the right type is important in the process of getting the results that you want.
A fine clay is especially useful for the fine details and for carving and any last touches on the sculptures that are required. However, coarse clay gives a rough texture to the work’s finish and is most appropriate for use when larger forms of sculptures or pots are required.
By considering these differences, it becomes easier to know which clay is best suited for a particular project to achieve the intended intricacy and texture.
3. Basic Handbuilding Techniques
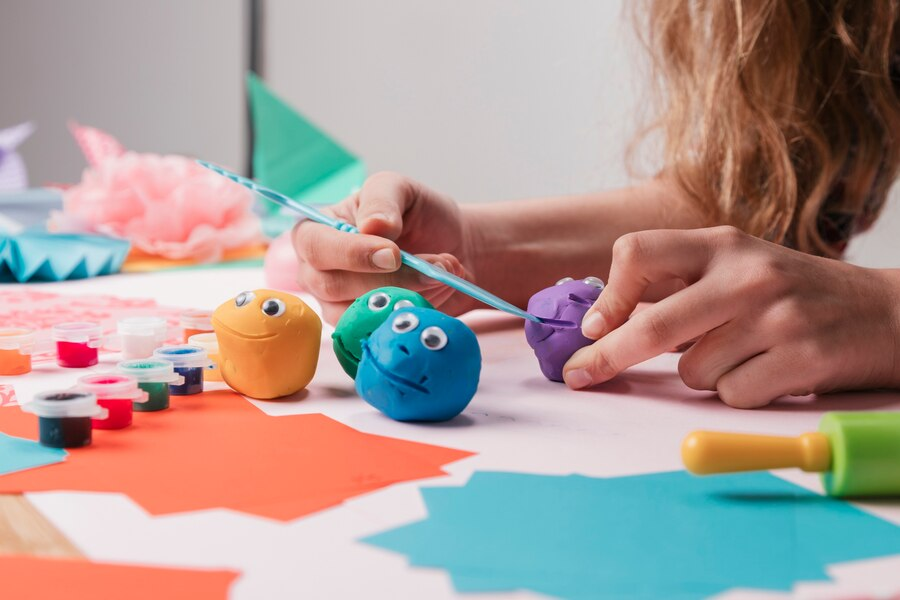
Pinch Method:
The pinch method is one of the simplest techniques that involves using your fingers to push and form the clay. This method is suitable for making small bowls, figures, or simple decor items as it offers a natural way to shape and apply the details with little need for tools.
Coil Method:
For larger structures like vases or plant pots, the coil method involves making long coils of clay. Then placing them on the other or wrapping them around each other.
Make sure every coil you put over the other is well mixed so that the structure of the clay does not crack as it dries. Using this method, it is possible to produce rigid forms and surfaces with intricate texture.
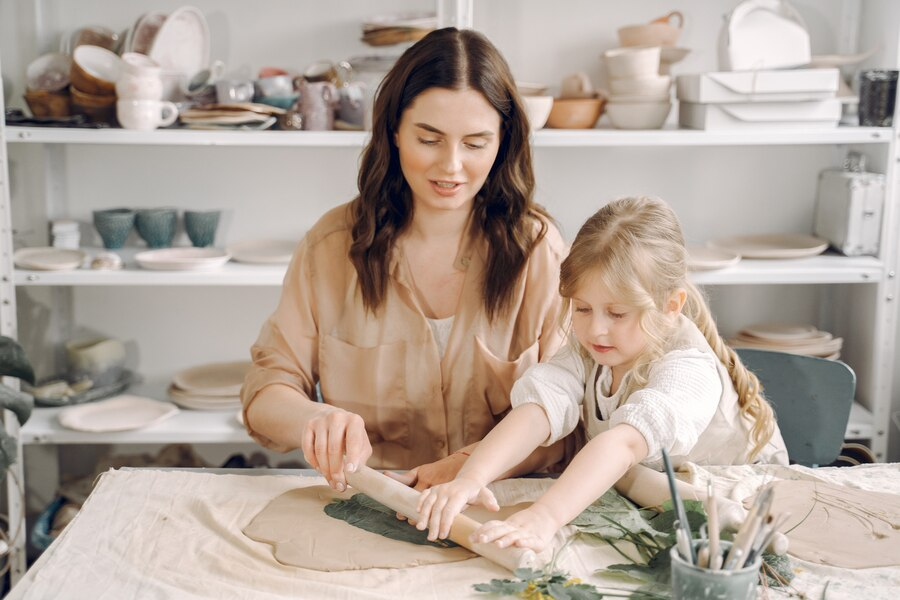
Slab Method:
Knead clay and then roll into thin flat disks or slabs using the pin or clay roller. Create silhouettes of preferred geometrical figures and join them to build objects like boxes, tiles and flat sculptures.
It is recommended to pre-coat the parts before assembling them by scoring and moistening the contact surfaces to enable the formation of strong joints. Which will not be adversely affected by handling and drying cycles.
The slab method is ideal for flat or 3D shapes that have sharp edges without intricate features or complex geometries.
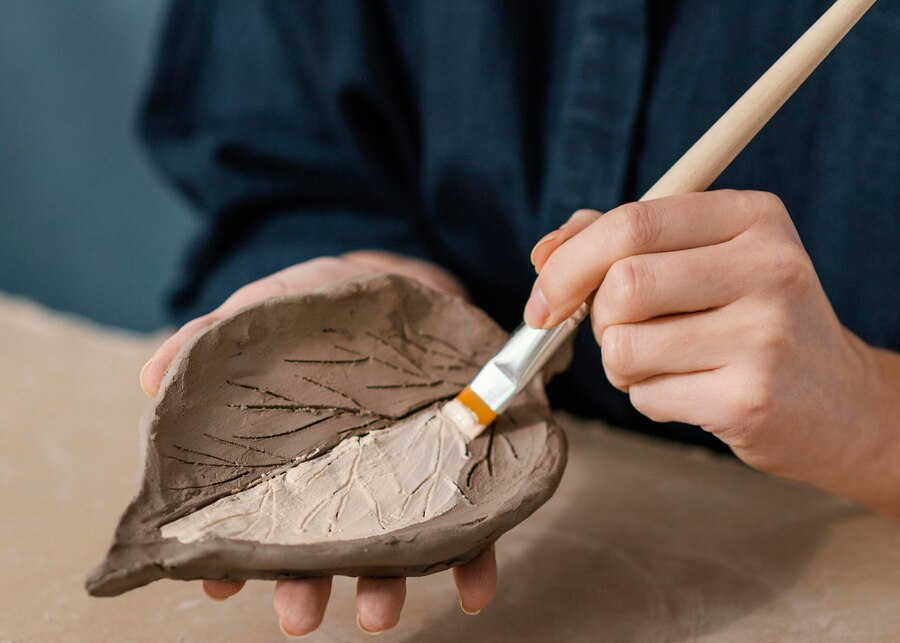
4. Adding Texture and Detail
Take it up a notch by adding texture and detailing to your artwork. Use stamps, textured rollers, or other creative objects like fabrics or leaves to create interesting designs on clay.
Be open to exploring different approaches to creating surface textures that add depth and aesthetic appeal to pieces of art.
Through these creative approaches, you can add beauty to your clay works and make them attractive art pieces you can be proud of.
5. Drying and Finishing
When you are done with sculpting, allow the clay to dry in the open air. Depending on the thickness, drying time can take 3 to 7 days, and it can be more if the humidity is high. For bigger pieces, one must loosely cover the piece with plastic or a damp cloth to avoid cracking.
Once the clay is dry, you can carefully scrape off any rough surface using sandpaper before painting or sealing it. This final step also protects the art piece and gives it a professional and polished look while increasing the longevity of the clay art.
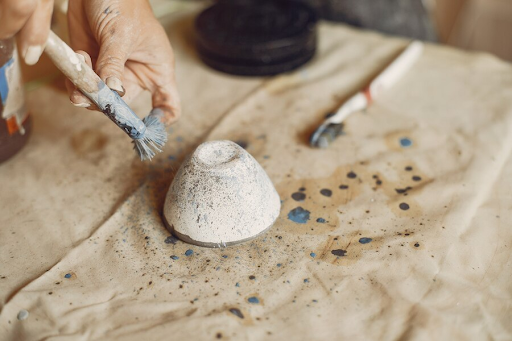
6. Painting and Decorating
After air drying, clay can be painted, stained, or varnished. Acrylic paints provide the most luminous and saturated colors and the best detailing to help you embody your imagination.
On the other hand, stains give the work a more primitive, earthy look, which complements the surface of clay better. Try out different brushing methods, like dry brushing or layering, to create a variety of effects that will enhance the design.
Lastly, protect your finished sculpture from dust and moisture by applying a clear varnish or sealant coat to extend the possible years of your clay artwork.
Conclusion
As with many other clay forms, air-drying clay provides an excellent opportunity to unleash one’s imagination. Whether you’re creating functional pottery, intricate sculptures, or decorative items, mastering these essential techniques will help you achieve satisfying results.
Remember to enjoy the process, embrace imperfections as part of your artistic journey, and let your creativity flow freely. With practice and exploration, you’ll discover the joy and fulfillment of crafting unique pieces from air-drying clay.